
How to treat ear mites in cats at home usually comes down to three things: recognizing the signs early, cleaning the ear the safe way, and using a vet-recommended product long enough to actually break the mite life cycle.
If you have a cat shaking their head, scratching nonstop, or leaving dark “coffee grounds” debris in the ear, it’s tempting to reach for whatever you have in the cabinet. The problem is that a lot of popular DIY fixes can irritate the ear canal, and irritation makes mites and secondary infections harder to deal with.
This guide keeps it practical: what ear mites look like in real life, how to check without hurting your cat, what “at-home treatment” realistically can and cannot do, and the moments when it’s worth calling a veterinarian instead of pushing through.
What ear mites are, and why “home treatment” has limits
Ear mites (most often Otodectes cynotis) are tiny parasites that live in the ear canal and feed on skin debris. They’re common in cats, especially kittens, multi-pet households, and rescues.
Here’s the boundary that matters: home care can help with comfort and hygiene, and sometimes it supports treatment, but it does not replace a proper diagnosis. Ear debris can also come from yeast, bacteria, allergies, foreign material, or ear polyps, and those can look similar at a glance.
According to the American Veterinary Medical Association (AVMA), parasites should be diagnosed and treated with appropriate veterinary guidance, because misdiagnosis and incorrect products can prolong the problem and worsen inflammation.
Signs that strongly suggest ear mites (vs. something else)
People often expect to “see mites.” In reality, most owners notice behavior and debris first.
- Dark, crumbly debris that resembles coffee grounds
- Frequent head shaking or ear flapping
- Intense scratching around ears and neck
- Redness at the ear opening, sometimes with small scabs
- Ear odor (can happen with mites, but strong smell can also point to infection)
Signs that push this into “don’t guess, get help” territory include one ear suddenly painful, a head tilt, loss of balance, swelling, pus-like discharge, or your cat yelping when you touch the ear.
Quick at-home check: a realistic self-assessment checklist
You don’t need to go digging deep. The goal is to decide whether this looks like a simple ear issue or something that needs same-week veterinary care.
- Is your cat otherwise acting normal? Eating, drinking, and moving normally is reassuring.
- Is there a bad smell or wet discharge? That often suggests infection, not just mites.
- Is the ear flap extremely red or thickened? Heavy inflammation can mean severe mites or another condition.
- Is it one ear or both? Mites often affect both, but not always.
- Is there bleeding or an “ear hematoma” look? A swollen ear flap needs veterinary evaluation.
If your cat fights hard, bites, or panics, stop. Stress and rough handling can cause injury, and it’s not worth “winning” that moment.
Home care that’s usually safe: cleaning the ear without making it worse
If you’re trying to figure out how to treat ear mites in cats at home, cleaning is the part you can do carefully while you arrange proper medication. It also helps your cat feel better because it reduces the gunk mites live in.
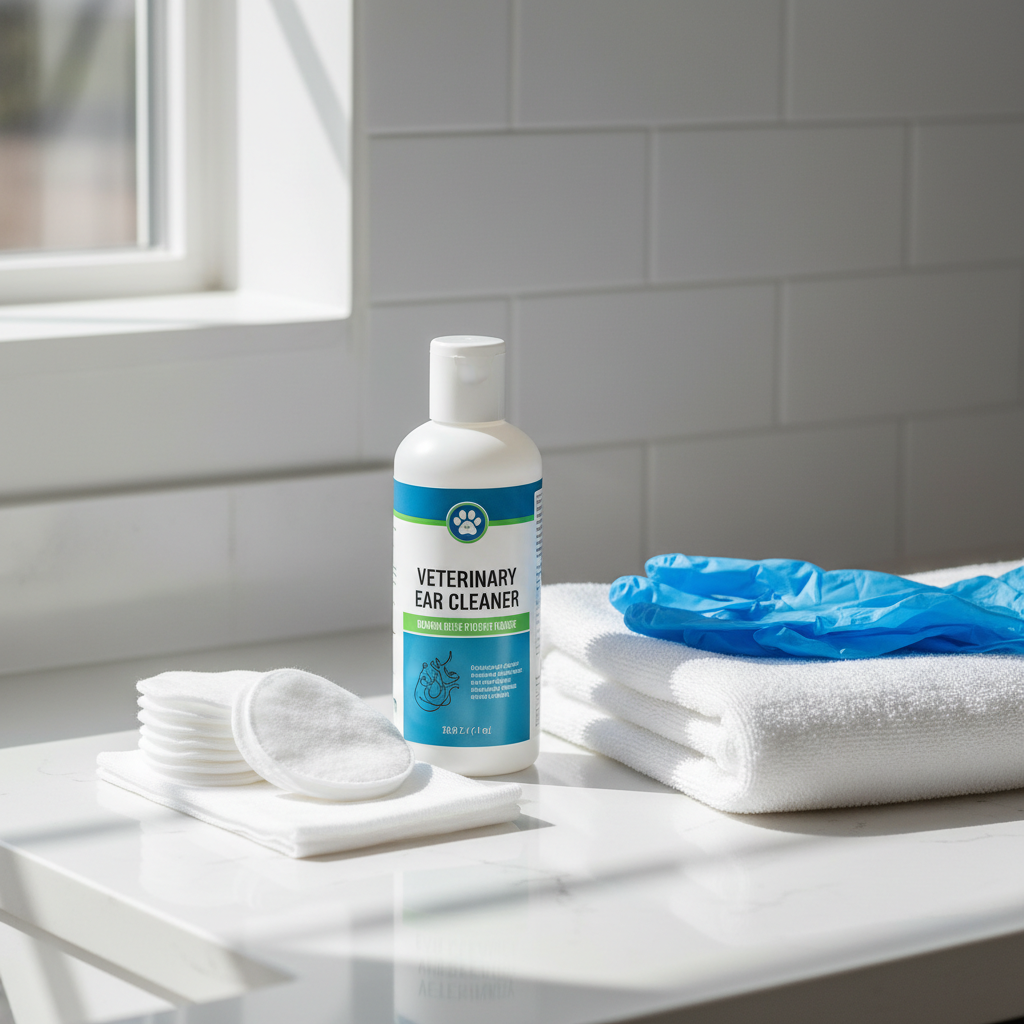
What to use
- Veterinary ear cleaner made for cats (label should specify pets)
- Cotton pads or gauze for wiping the outer ear
- A towel “burrito” wrap if your cat is wiggly
What to avoid
- Q-tips in the ear canal (easy to push debris deeper, risk injury)
- Hydrogen peroxide or alcohol (often stings, can inflame tissue)
- Essential oils (cats can be sensitive, and oils may irritate)
- Vinegar mixes unless your vet specifically recommends it for your cat
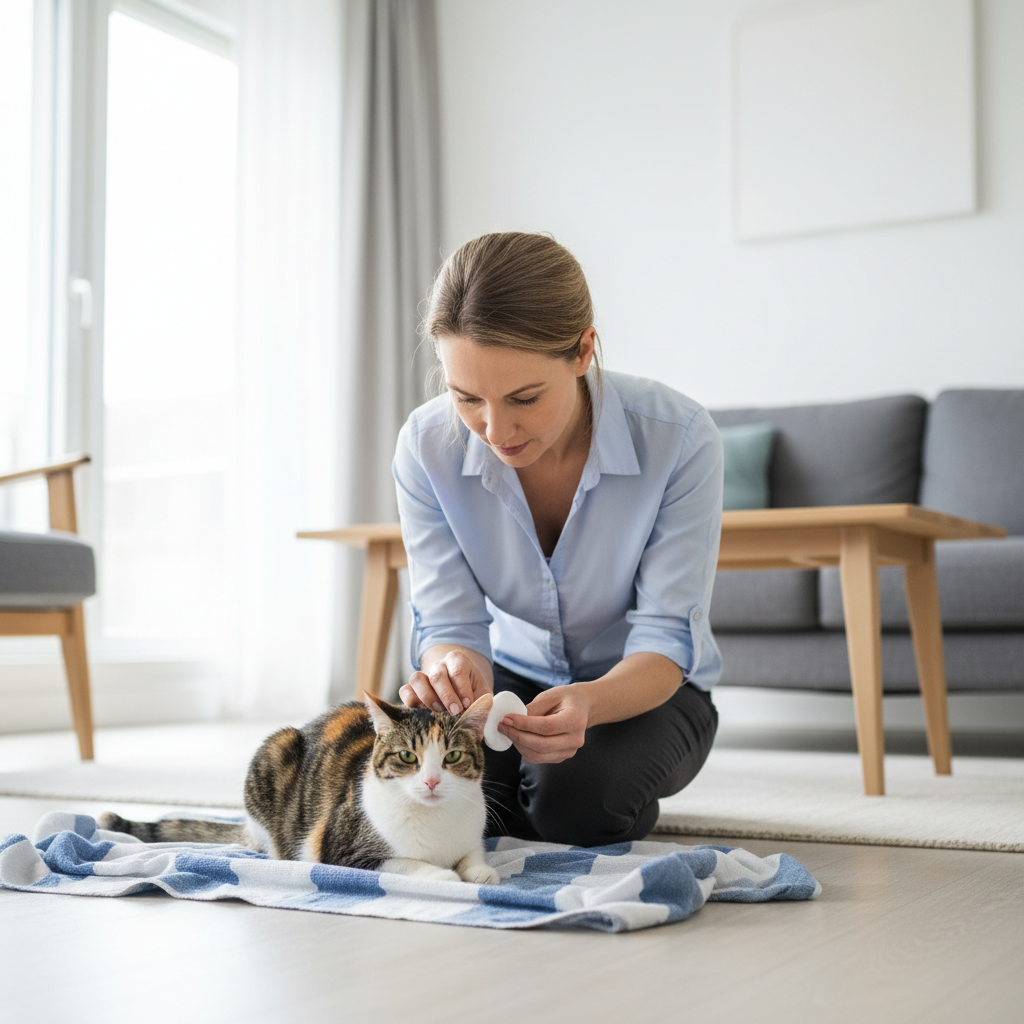
Simple cleaning steps
- Lift the ear flap and wipe visible debris from the inner flap and ear opening with a dampened cotton pad.
- If using a liquid ear cleaner, follow the bottle directions, then gently massage the ear base for 20–30 seconds.
- Let your cat shake their head, then wipe away loosened debris from the outer area.
Two quiet sessions usually beat one wrestling match. If your cat becomes fearful, pause and come back later.
Medication options: what “at-home treatment” typically means in the US
Most effective mite treatments in the US are prescription. That’s not marketing fluff, it’s because you need the right antiparasitic drug and dosing, and ears are delicate.
According to the FDA, pet medications should be used as directed and obtained through appropriate channels, because misuse can lead to adverse effects and treatment failure.
In many clinics, “at home” means you’re applying a prescribed topical product at home after a vet confirms mites (often with a microscope exam).
Common vet-directed approaches
- Topical spot-on parasite preventives (often applied to skin, not into the ear)
- Ear drops formulated for mites, sometimes combined with antibiotic/antifungal if infection exists
- Single-dose or short-course treatments depending on product and severity
One practical point: even if symptoms improve fast, mites have a life cycle. Stopping early is a classic reason people end up dealing with the same itching again two weeks later.
A simple plan by scenario (with a table)
Not every situation needs the same intensity. This is a reasonable way to think about next steps without pretending one plan fits everyone.
| What you’re seeing | What it may mean | What you can do at home now | What to do next |
|---|---|---|---|
| Dark debris + head shaking, cat otherwise fine | Ear mites are possible | Gentle cleaning 1–2x/week, prevent scratching if possible | Schedule a vet exam for confirmation and medication |
| Strong odor, wet discharge, marked redness | Infection may be present (with or without mites) | Do not pour home remedies into ear; keep ear dry and avoid irritation | Vet visit soon for ear cytology and appropriate drops |
| Swollen ear flap, blood under skin, intense pain | Possible ear hematoma from scratching | Prevent further scratching if safe, avoid pressure on ear | Vet evaluation promptly |
| Kittens or multi-pet household with itchy ears | Contagious spread is common | Separate bedding, wash fabrics, clean ears gently | Vet guidance for treating all pets when appropriate |
Preventing reinfestation: treat the cat, the environment, and sometimes the household
People get frustrated because the cat looks better, then the scratching comes back. Often it’s not “resistance,” it’s incomplete coverage.
- Ask about treating other pets: mites can spread between cats, and sometimes to dogs.
- Wash soft items: bedding, blankets, and cat trees covers, using hot water when fabric allows.
- Vacuum common areas: especially where your cat sleeps.
- Trim nails to reduce self-trauma while the ear heals.
If you recently adopted a cat, it’s smart to assume exposure until proven otherwise and keep new bedding separate during the first couple of weeks.
Common mistakes that slow recovery
- Only cleaning, no medication: cleaning helps comfort, but it rarely eliminates mites by itself.
- Using harsh liquids: peroxide, alcohol, oils, and random mixes often trigger more inflammation.
- Treating one ear: even if only one looks bad, mites often involve both ears.
- Stopping early: symptoms fade before the mite population is truly cleared.
- Ignoring pain: a painful ear can mean infection, a ruptured eardrum risk, or a deeper problem.
If your cat has a history of allergies, recurring ear issues can be a pattern where mites are only part of the story, so keep that in mind if flare-ups repeat.
When to call a vet (and why it’s not “overreacting”)
It’s reasonable to want to handle minor stuff at home. But ear problems are one of those areas where guessing can backfire.
- Symptoms last more than 48–72 hours despite gentle cleaning
- Bad smell, wet discharge, or pus-like material
- Head tilt, imbalance, or unusual eye movements
- Severe swelling of the ear flap or visible bleeding
- Kittens, seniors, or immunocompromised cats (risk climbs fast)
A veterinarian can confirm mites quickly and choose a product that fits your cat’s age, weight, and overall health, and that’s usually the difference between a lingering issue and a clean resolution.
Key takeaways you can act on today
- How to treat ear mites in cats at home starts with safe cleaning, but effective elimination typically needs vet-recommended medication.
- Skip harsh DIY liquids, irritated ears heal slower and get infected more easily.
- If you have multiple pets, plan for a household approach, not a single-cat fix.
- Pain, odor, wet discharge, or balance changes deserve professional evaluation.
Conclusion: a realistic next step
If you suspect mites, keep home care simple and gentle, clean what you can see, reduce scratching damage, and set up a vet visit to confirm the cause and get the right product. You’ll spend less time experimenting, and your cat usually feels relief faster when treatment matches the actual problem.
If you want, write down what you notice before the appointment: which ear looks worse, what the debris looks like, and whether other pets itch too. That short list helps the vet narrow the cause quickly.