
turtle tank gravel natural river stone sounds like the most “natural” substrate choice, but for many turtle keepers the real question is simpler: will it stay clean, stay put, and stay safe if your turtle tries to eat it.
Gravel and river stone can work well, especially when you want a riverbed look and a heavier substrate that plants and décor won’t constantly shift. But it’s also one of the more common places people accidentally create problems like trapped waste, stubborn cloudiness, or swallowing risk.
This guide breaks down what to buy (and what to skip), how to do a quick safety check at home, and how to set up and maintain river stone so it stays attractive instead of turning into a dirty, anaerobic mess.
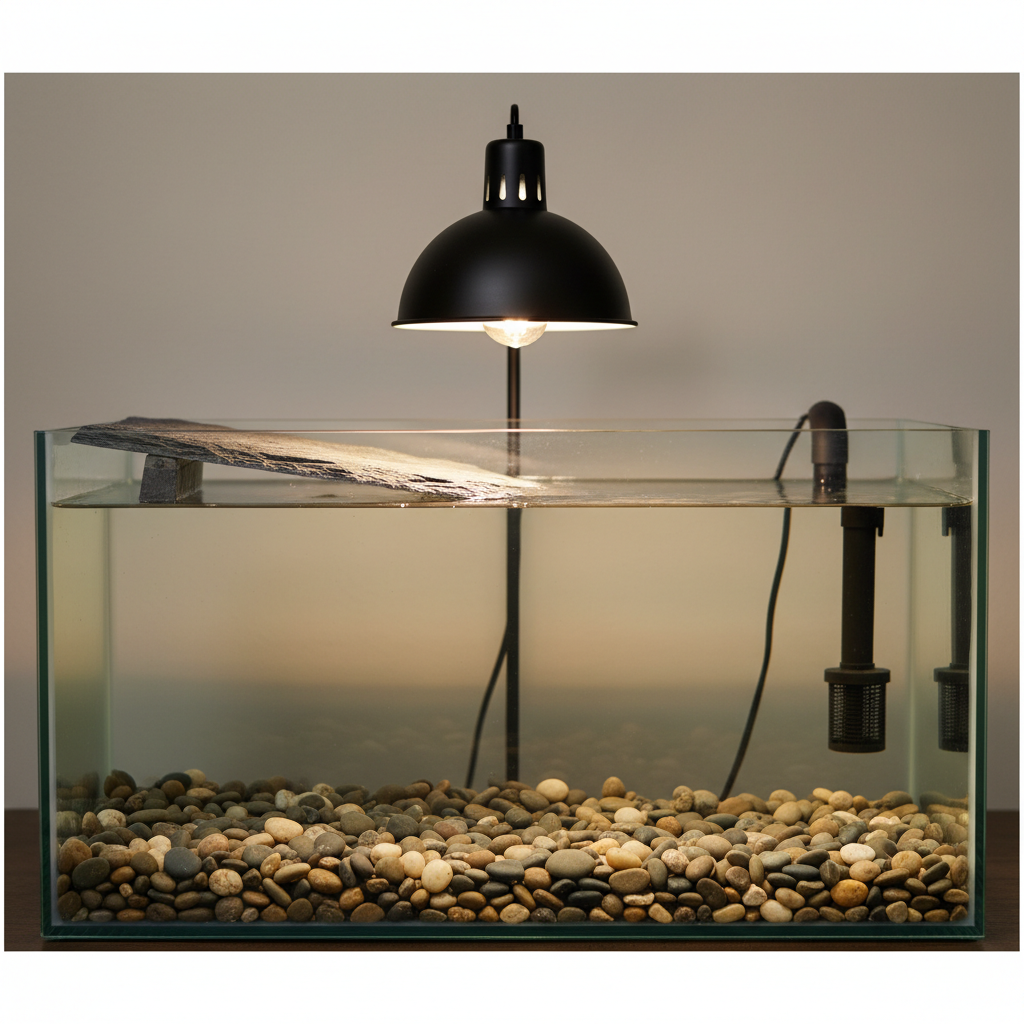
Why natural river stone is popular (and where it goes wrong)
Natural river stone looks right in a turtle tank. It’s heavier than most gravel, it doesn’t float, and it can help anchor driftwood or keep décor from sliding every time your turtle bulldozes the layout.
Where it goes wrong is usually one of these real-life scenarios: the stones are small enough to fit in a turtle’s mouth, the layer is too deep and becomes a waste trap, or the rocks weren’t rinsed well and the tank stays cloudy for days.
- Swallowing/impaction risk: many turtles mouth objects; small stones can be ingested.
- Hidden waste: poop and leftover food sink between stones and rot if you can’t siphon it out.
- Water clarity issues: dusty rock, weak mechanical filtration, or disturbed substrate keeps fines suspended.
- Sharp edges: some “decorative gravel” chips and creates abrasive points.
According to the U.S. Food & Drug Administration (FDA), Salmonella can be associated with reptiles and their environments, so substrate that’s easy to clean matters for human hygiene as well as turtle health.
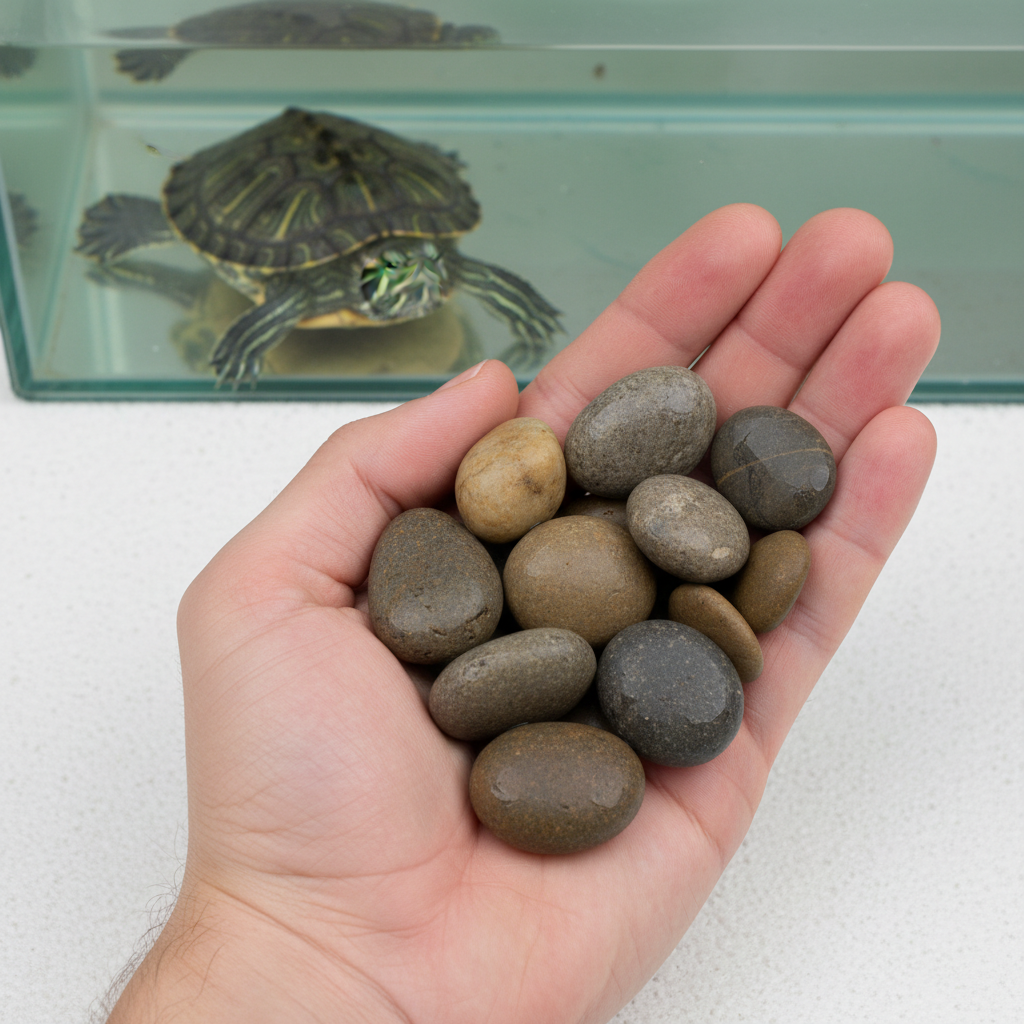
Quick safety check: is this stone too small for your turtle?
Before you buy a full bag, do a simple size reality-check. A lot of “river gravel” sold for aquariums is closer to pea gravel, and that’s often the danger zone for curious turtles.
- Mouth test (rule of thumb): if a stone could plausibly fit between the turtle’s jaws, assume it may try to swallow it.
- Prefer “can’t be eaten” sizes: many keepers lean toward larger river rocks or cobbles rather than true gravel.
- Shape check: choose rounded, smooth stones; skip jagged mixes and crushed rock.
- Surface check: rub stones together; if they flake or shed grit, expect cloudiness and faster wear.
If you’re unsure, it’s reasonable to ask a reptile vet or an experienced local shop to sanity-check stone size for your turtle species and age. Hatchlings and juveniles often need more conservative choices.
Choosing the right turtle tank gravel natural river stone (shopping checklist)
When people search turtle tank gravel natural river stone, they’re usually looking for something that looks natural but behaves predictably in water. This checklist keeps you in the safer, easier-to-maintain lane.
- Material: inert, aquarium-safe river stones (avoid unknown “landscaping blends” with mystery additives).
- Size: large enough that accidental ingestion is unlikely; avoid pea-sized gravel for many turtles.
- Finish: rounded and smooth, no sharp fractures.
- Color: mid-tone browns/greys hide debris better than bright white stones, which show every speck.
- Packaging: aquarium-labeled is often more consistent; landscaping rock can still work, but inspect it closely.
Also be honest about your feeding habits: if you feed messy foods in the water (many people do), stone gaps become a buffet line for bacteria unless your cleaning routine is consistent.
River stone vs bare bottom vs sand: a practical comparison
No substrate is perfect, it’s about what tradeoff you can actually live with week after week.
| Option | What it does well | Common downside | Who it fits |
|---|---|---|---|
| Natural river stone | Looks natural, heavy, stable | Debris trapped between stones; ingestion risk if too small | Keepers who will siphon regularly and choose large stones |
| Bare bottom | Easiest to clean, best visibility | Less “natural,” reflections can stress some turtles | High-mess feeders, rehab tanks, busy schedules |
| Sand (fine, aquarium-grade) | Natural look, fewer “food traps” than gravel | Can cloud if disturbed; needs correct depth and flow | Keepers who want natural aesthetics with easier siphoning |
Many experienced setups quietly mix strategies: bare bottom under feeding zones, stone “islands” where they want the look. It’s not cheating, it’s maintenance-aware.
How to set up river stone so it stays clean (step-by-step)
The setup matters as much as the stone choice. If you skip rinsing or you build a deep rock bed, you often pay for it later with funk you can’t reach.
1) Rinse like you mean it
Rinse stones in batches until the water runs mostly clear. Dust is normal, but if you stop early, your filter will spend days catching fines instead of waste.
2) Keep the layer shallow
A thin, even layer is usually easier to siphon than a deep pile. Deep rock beds tend to trap sludge and create low-oxygen pockets where gunk breaks down slowly.
3) Plan your “flow and waste” zones
- Place filter intake where debris naturally drifts.
- Keep heavy décor from creating dead spots behind it.
- If your turtle has a favorite bathroom corner, don’t bury it in rocks.
4) Feed smarter to reduce mess
If you feed in-water, consider a feeding tub or a bare-bottom feeding area. Less food in the substrate means less odor and fewer spikes in water quality.
Maintenance routine that actually works (without tearing the tank apart)
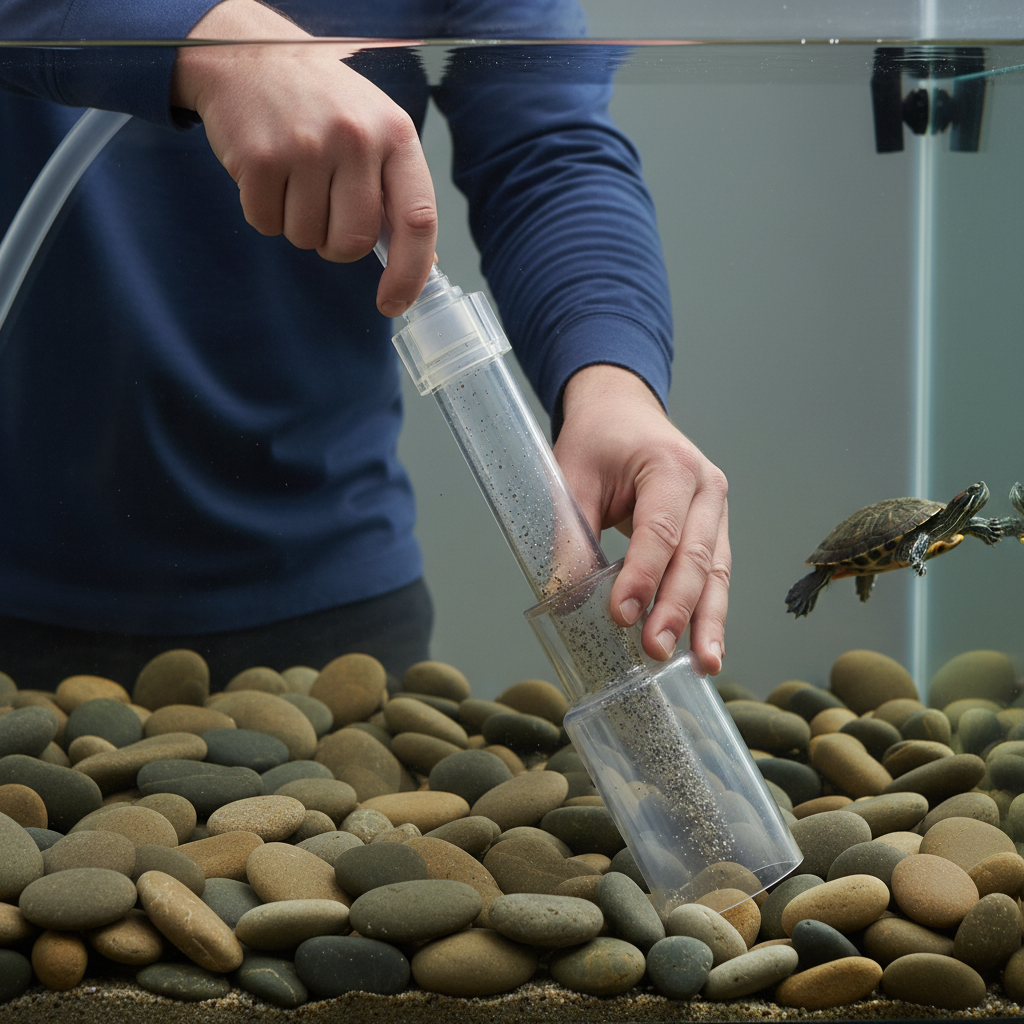
With turtle tank gravel natural river stone, the winning routine is “small and frequent,” not “deep clean once in a while.” Turtles are messy, and stone gaps don’t forgive long breaks.
- 2–4 times per week: spot-siphon visible waste and uneaten food, especially around basking ramps and corners.
- Weekly: light siphon pass over the whole bottom; swish a few stones by hand if debris collects underneath.
- Filter care: rinse mechanical media in dechlorinated water as needed so flow stays strong.
- Monthly-ish: lift and rinse a portion of stones (not all at once) if you notice odor or persistent debris pockets.
According to the U.S. Environmental Protection Agency (EPA), using a dechlorinating method matters because chlorine and chloramine can harm aquatic life; if you’re doing water changes, treat new water appropriately for your local supply.
Common mistakes to avoid (these cause most “river rock problems”)
- Buying “pea gravel” because it looks cute: small stones are the ones turtles test with their mouth.
- Using sharp decorative rock: chipped edges can scratch skin and shells, and they trap more grime.
- Overloading the bottom: thick layers look nice on day one, then become a detritus mattress.
- Chasing crystal-clear water with chemicals: cloudiness often comes from dust and filtration balance, not a problem solved by clarifiers.
- Ignoring smell: odor usually signals trapped organics; it’s a substrate-cleaning issue, not just “add more filter.”
If your turtle shows signs like reduced appetite, straining, unusual floating, or repeated gagging at stones, it may be unrelated, but ingestion is one possibility. This is the moment to stop guessing and talk with a reptile vet.
Key takeaways (so you can decide today)
- Choose stones that are too large to swallow, smooth, and inert.
- Keep the substrate shallow so waste doesn’t disappear into a deep rock bed.
- Rinse thoroughly and expect some initial dust even with good products.
- Maintenance beats upgrades; frequent spot-siphoning prevents most odor and cloudiness.
If you want the natural look without constant frustration, start with larger river stones, a strong mechanical filtration path, and a cleaning rhythm you can keep even on busy weeks.
FAQ
Is natural river stone safe for turtles?
Often yes if the stones are smooth, inert, and too large to swallow. The main safety concern is accidental ingestion with smaller gravel, which can become serious, so size selection matters more than the “natural” label.
What size gravel is safe for a turtle tank?
Many keepers avoid pea gravel and choose larger stones or cobbles. Exact safe size varies by species and age, so if the stone could fit in your turtle’s mouth, treat it as a risk and consider sizing up.
Will river stones make my turtle tank water cloudy?
They can at first because of rock dust. A thorough rinse plus good mechanical filtration usually clears it, but if cloudiness persists, check flow, filter media, and whether the turtle keeps digging and suspending fines.
How do I clean poop out of river rock substrate?
Use a siphon to spot-clean several times a week, focusing on corners and under ramps. A shallow layer makes this much easier; deep beds tend to hide waste where siphons can’t reach.
Can I use landscaping river rock from a home improvement store?
Sometimes, but it’s more variable. You’ll want to inspect for sharp pieces, rinse heavily, and avoid rocks with coatings or unknown residues. When in doubt, aquarium-labeled stone is usually more consistent.
Is sand better than river stone for turtles?
It depends on your turtle and your maintenance style. Sand can be easier to siphon because waste sits on top, but it can cloud if disturbed and needs the right depth and water flow.
Should I keep a bare-bottom turtle tank instead?
If your priority is fast cleaning and stable water quality, bare bottom is hard to beat. You can still add a few large rocks as accents without turning the whole bottom into a debris trap.
If you’re trying to get the “riverbed look” without guessing, it helps to choose a stone size that’s clearly non-edible for your turtle, then build the tank around easy siphoning and strong filtration, it’s usually the difference between a tank that looks great and one you dread cleaning.